How to Make a Turkey using a Work Wreath
This is going to be a fun and pretty easy wreath to make. Robin of course makes everything look pretty easy because she is so talented. We are going to try to give you a step by step on how to create this look for yourself. We also have a video on how to do it that we are going to post below but you will have to bare with us as it is very informal.
Ok so lets get started!
Of course the first thing your going to need is a 24" Work Wreath.
You can pretty much use this in any fall color for the base of the Turkey.
Separate all the twigs and straighten them out. This will make it a lot easier for you to hit each twig with the Designer Netting.
The next step you are going to take is attaching your Designer Netting.
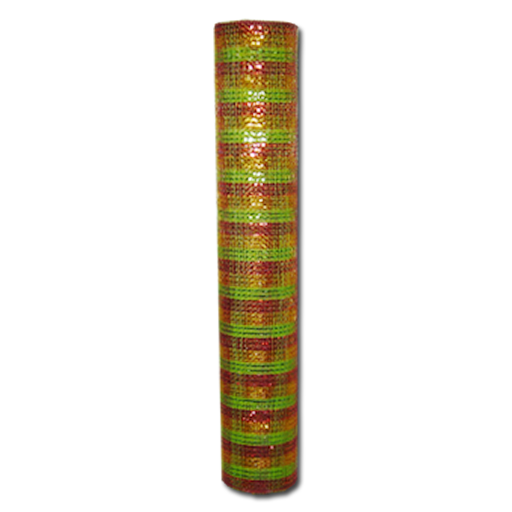
We used 20" Christmas Harvest. The colors just went beautifully with what we were looking for.
It is a great variety of Fall colors all in one. Ok so if you have never made a wreath before I am going to try to explain it to you. What you are going to do is take the end of the Designer Netting and attach it in between to twigs by twisting them together. You will the take your netting and attache it to the next set of twigs (of course give it some poof). If you are confused on how to do this be sure to watch the how to video linked below. On this wreath we are going to attach the netting only 3/4 of the way.
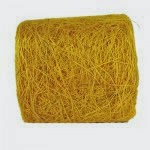
For the next step we are going to use our oh so popular Firegrass! Our Firegrass comes in Beige, Green, Orange and Brown. These are great Fall colors to use as a part of our Turkey's feathers. I just love this idea! And I can't get over how great it turned out! Robin took a little bit of each of the firegrass and mixed it together so that she had a great mixture in each section of the feathers. After doing that she attached the firegrass to the branches of the wreath (Oh and these feathers go in the area where she didn't attach any Designer Netting) Whew! I nearly forgot that part.
As you can probably see in the picture, Robin used more than just firegrass for the feathers of the Turkey. She also used our Burlap Leaf Spray. I love this spray because it just fit in perfectly with this design. Robin definitely had a great vision here for this design.
This spray comes in Cream, Red, Orange, Brown and Green. Robin layered her burlap leaf spray on top of the firegrass and secured it with the branches just as she did the firegrass.
Next we are going to place our Turkey base in the wreath form. This is pretty easy. You just attach with the wreath branches in about the middle of the wreath. The video shows you a little easier than I can explain it.
After attaching the Turkey you are going to want to make wings! Robin did this by cutting strips of ribbon in 4" Gold Banana Weave, 4" Red Jute and a printed ribbon. We are currently out of the printed ribbon Robin used. If you would like to check out our printed ribbons click here
Robin cut strips of each of these ribbons to place on the sides of the turkey as wings. I wouldn't say she cut more than 15' strips of ribbon. Again the video shows you exactly how to do it.
The outcome is oh so adorable!
Watch this step by step video to get a better understanding on how to make the Turkey wreath.
Click this link to watch the video
https://www.youtube.com/watch?v=DiEvye6thzc&list=UUgs7Bd1lK9OsXVYu5bjcXEA


