This year is flying by for us here at TMI Gifts! It seems like we were just on Christmas break
and now Easter is right around the corner!
As Easter approaches us, I thought that you might want some kind of
Easter Décor on your front door. Robin
(Designer) has designed an Easter Egg wreath, which is what we will talk about
today. Note: Every item is linked to the product.
Ok so let’s get started!
First you are going to need a wreath form. We used a 24” Lavender Work Wreath. Now keep in mind this is a round wreath but
what you do next is very simple. Robin
took the wreath and shaped it into an oval shape. The wire is pretty easy to bend.
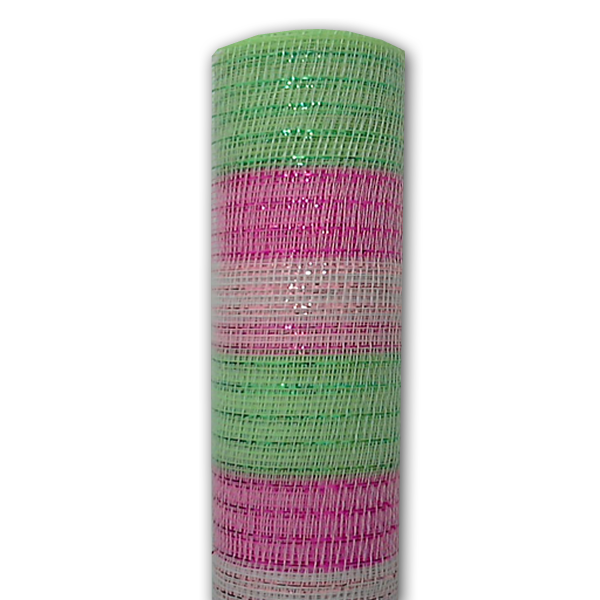
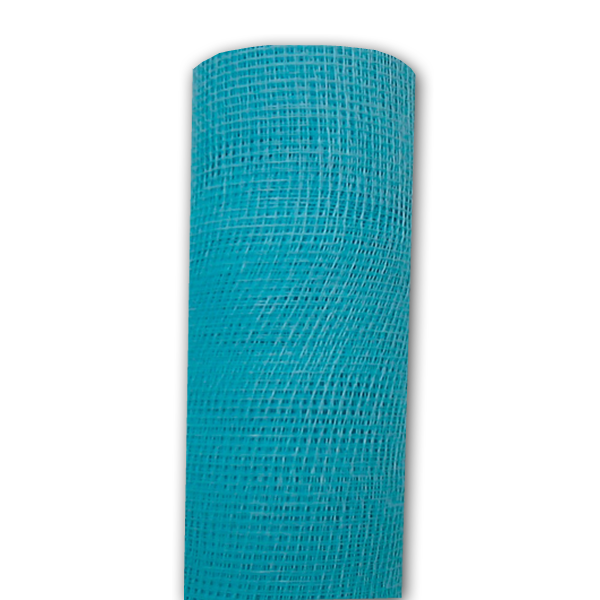
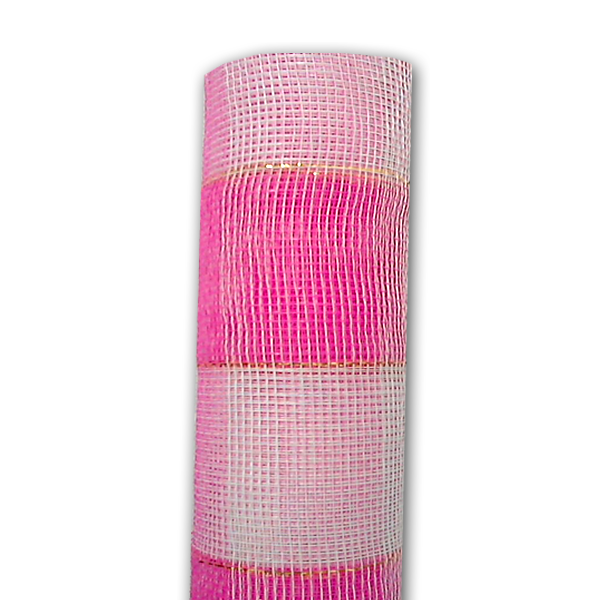
Next you will need 20” Azalea Stripe Designer Netting, 20”Baby Blue Designer Netting, 20” Yellow Designer Netting, and a 20” Pink Plaid Designer Netting. Now with each of these
you are going to do the same thing but alternating colors throughout the oval
shaped wreath. Robin started with 20”
Pink Plaid Designer Netting by cutting a strip just long enough to attach to
the top branches of the oval and then to each side. Moving on to 10” Yellow Designer Netting and
doing the same until you get to the bottom of the form. It is really that simple. Just alternate your colors, cut strips and
attach to the outer branches. Note: Make
sure not to pull the Designer Netting too tight.
You will need the following ribbons to make a bow for the
top of the egg. In the picture shown, we
use 2.5" X 10 Yds Poly Wired Jumbo Dot Lime/White Ribbon, 2.5" X 10 Yds Multi Colored Poly Wired Chevron Ribbon, and 2.5" X 10 Yds Frayed Edge Ribbon Lime, Orange and Pink
When making the bow, Robin made a few loops with each ribbon and layered them. She attached the bow to the wreath form by zip ties.


-9-256px-256px.jpg)


