
How to make a wreath with a Grapevine form.

Ok so today lets talk about how to make a wreath with a grapevine form. This to me is one of the easiest wreaths to make. I also feel like it is such a simple and rustic look. I personally love this look!
This particular one is more of a Spring/Summer look!

You will need a grapevine wreath. The one pictured above is a 24" Grapevine wreath.
You can use which ever size is best for you. We also carry an 18", 30" and 36" Grapevine wreaths.
You can use which ever size is best for you. We also carry an 18", 30" and 36" Grapevine wreaths.

The Next step you need to take is to take your Yellow Daisy and either secure with a zip tie or weaving the branches in through the grapevine twigs. Using a zip tie would be the easiest thing to do. When you zip tie them on, try to do it about the middle of the stem and to where your bow will cover it.
Take the ends of the stems and bend them to curl. Don't over think this part because it really isn't hard and it doesn't have to be any particular way or going any specific direction. On this wreath there is a flower pointing up and two placed downwards all on the left side of the wreath.

Dry Curly Grass always adds a nice look to anything. I always think a little greenery can make things look a little more realistic and in this case I think it gives the wreath a little more texture. The curls just really make it fun!
Take the bundle of the 24" Light Green Dry Curly Grass and pull it apart. Take a few twigs and place them throughout the left side of the wreath. Use it on top and the bottom. Simply secure it by poking in through the grapevine wreath. It is as simple as that.
Right now you are probably feeling like your wreath isn't looking right. But don't you worry because it will all come together once you get the rest of your product on there.
Lets start working on the bow now!
This is a different kind of bow than what we normally do. First take your 4" Natural Jute and cut a strip about 28" to 30" long. Hold your ribbon 7" from the bottom of one end of the ribbon and make a loop big enough to where you have about 7" hanging from the other end of the ribbon. You're going to do this with every strip of ribbon and layer it. I would make your jute the bottom layer, pink banana weave, lime Designer Netting and then layer your printed ribbons on there to what suits you best. When layering them make sure your loops are all facing a different direction. You don't want a bunch of loops all going the same direction. If you did that, you really wouldn't have a bow. After you are done layering, you then zip tie your bow to the grapevine wreath about the middle on the left side.


Now for the very last thing! We put a Bottle Cap Owl inside our wreath. All we did was take his little feet and poke them in the grapevine to secure it. You can also use a zip tie.

Here are some other suggestions. Just in case you aren't a fan of the Bottle Cap Owl.
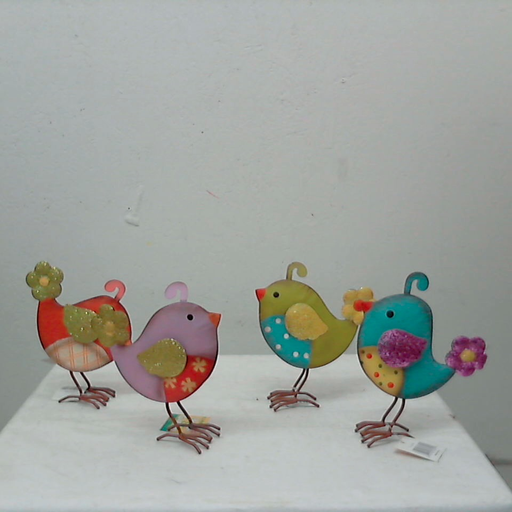
Metal bird with glitter wings
No comments:
Post a Comment